16 Basic Steps to Changing a Flat Tire
Changing a tire is a skill all people should know how to do- However, this can be extremely stressful, especially if an accident were to occur.
This article covers detailed steps and precautions to take when changing a tire and more so, in an event of an accident- It will teach you how to get safely off the road and back on your way.
**warning**
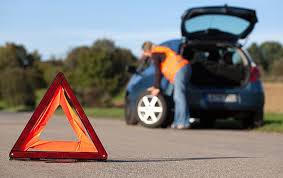
If a flat tire occurs while driving firmly grasp the steering wheel and pull to the side of the road. Preferably In an area that allows enough room for you to move around the vehicle safely.
Step 1:
Once you are in a safe area determine which tire you are going to change and move the car as necessary to keep yourself out of harms way. Also, if your vehicle is equipped it is best to make yourself and your car extremely visible by setting up road triangles. If you do not have these turn on your hazard lights.
Step 2:
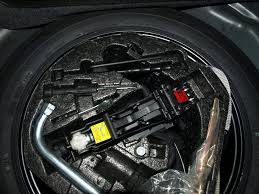
Locate the emergency equipment in the vehicle most equipment will be in the truck or car, but if you are having trouble finding it consult the owner's manual.
Step 3:
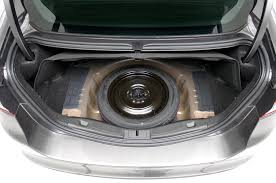
You will locate the spare tire and spare tire removal tool if needed, this will most likely be located in the truck as well.
Step 4:
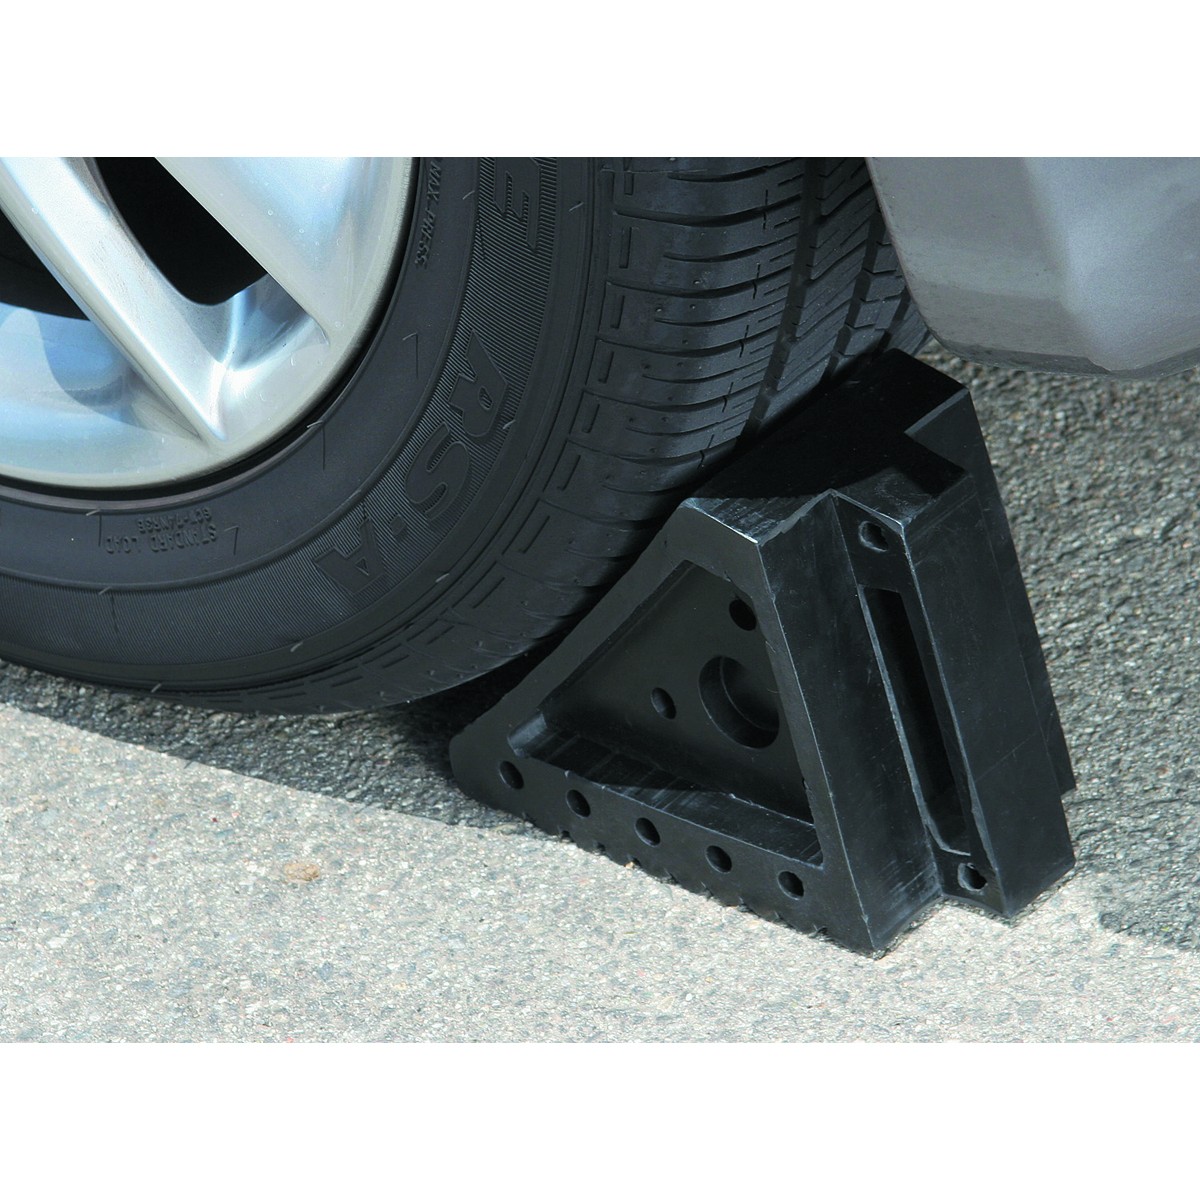
Set the parking brake inside the vehicle and install wheel chocks if they are included in emergency kit.
Step 5:
There are many ways to lift the vehicle per your manufacture, but most should have an illustration of how the vehicle should be lifted. If you are unsure in any way, consult your vehicle's owner's manual.
Pull out the jack mechanism and place in a safe and level spot on the ground as well as a centered lifting point on the vehicle.
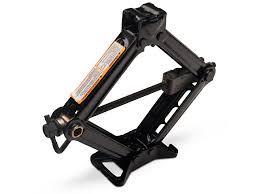
**tip**
As with lifting points there are different types of lifts but most have tools that go along with the jack. The most common type is the scissor jack as you turn the bolt in the jack the jack will then lift the vehicle.
**tip**
Some cars may have a lug nut cover, hub caps, and/or some plastic piece that does not allow you to get to the lug nuts. In this case you will need to remove it using a screwdriver or any tools supplied in the emergency tool kit.
Also there may be a wheel lock key that will be required to remove the lugs. Common places this can be found may be in the glove box, in the middle console, or in the emergency tool kit.
Step 6:
Once you have the jack in place, you will only tighten the bolt in the jack tight enough to support the car without getting the tire completely off the ground. This will allow you to loosen the lugnuts on the tire.
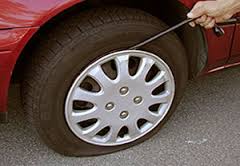
Step 7:
Take the tool that comes in the kit and install onto the lug nuts you will turn the nuts counterclockwise to loosen. It is best to push down to loosen rather than pull up.
**tip** left = loosen and right = tigthening
Lefty loosey & rightey tighty!
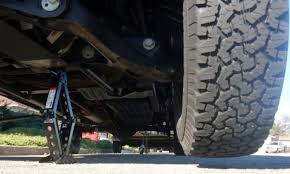
Step 8:
Once all lugs are loose then continue to raise the vehicle until the tire is no longer touching the ground.
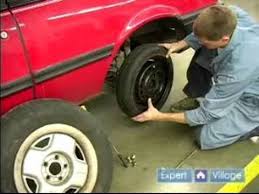
Step 9:
You will then remove the lug nuts completely and the tire should come off:
**tip**
When removing the tire grasp the tire at 3 and 9 o’clock being sure not to touch any chords if they happen to be showing- they can puncture your skin causing injury.
Step 10:
Take the damaged tire and store in the place of the spare tire.
Step 11:
You will then take the spare tire and install it on to the vehicle in the same fashion of removing.
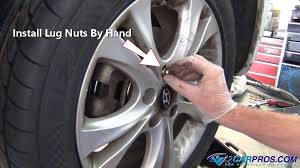
Step 12
Install the lug nuts in the same way they were removed except they will now be turned clockwise. You will do this with all the lug nuts until they are all somewhat snug.
Remember-
Lefty loosey & rightey tighty!
Step 13
Go back to the lifting device and you will now turn the jack bolt in the opposite direction of lifting you can drop the jack all the way down.
Step 14
Once the car has been completely lowered you will take the lug wrench and tighten all of the lug nuts in a star pattern.
**tip**
Since there is no way to ensure correct tightening torque make the lugs as tight as you can.
Step 15:
Take all emergency tools and put them back into their designated spots.
Step 16:
Because spare tires are not intended for permanent use the immediate action now is to make it to the nearest tire store to get the damaged tire replaced.
**warning**
Most manufactures do not recommend speeds of over 55 miles per hour when a spare tire is being used.
It may seem difficult but I ensure it is not- and if done with focus, it can be completed in minutes.